

Hey there, fellow DIY enthusiasts and professionals! If you're into working with metal, wood, or other materials, you know how crucial it is to have a well - functioning grinder with the right cutting wheel. As a cutting wheel supplier, I've seen it all when it comes to installing these wheels, and I'm here to share my tips and tricks with you.
First things first, safety is the name of the game. Before you even think about installing a cutting wheel, make sure you've got the proper safety gear on. That means safety glasses to protect your eyes from flying debris, ear protection because grinders can be really loud, and gloves to keep your hands safe from sharp edges and potential burns.
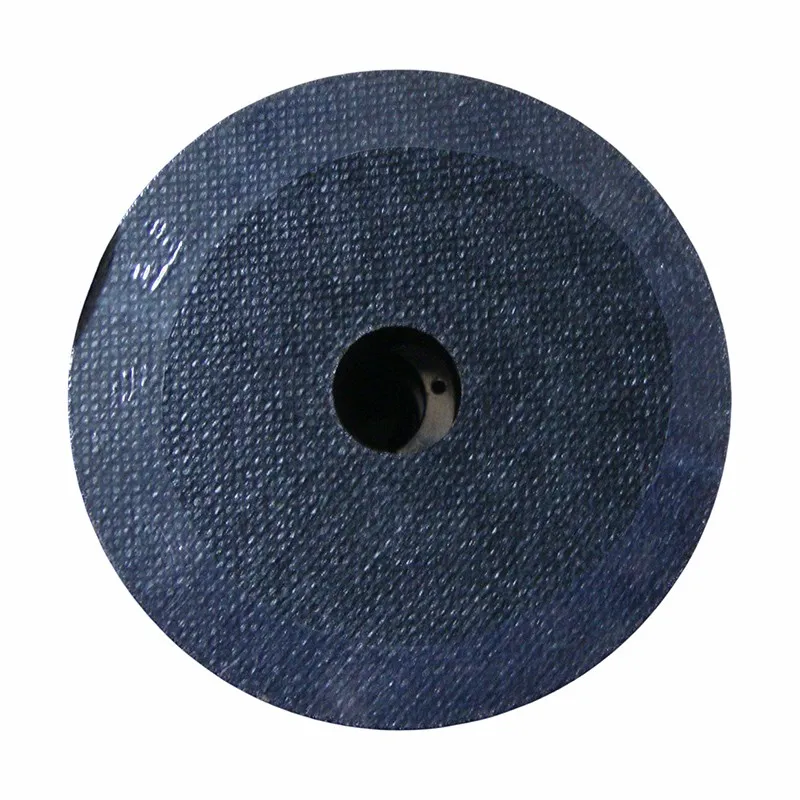
Now, let's talk about choosing the right cutting wheel. We offer a wide range of cutting wheels for different materials. If you're working with stainless steel, check out our Cutting Wheels for Stainless Steel. These wheels are specially designed to cut through stainless steel efficiently without causing too much heat buildup, which can lead to discoloration or warping. And for general metal cutting jobs, our Industrial Cutting Wheels for Metal are a great choice. They're tough, durable, and can handle a variety of metal types.
Once you've got the right cutting wheel, it's time to get down to business and install it on your grinder. The first step is to make sure your grinder is turned off and unplugged. You don't want any accidental starts while you're working on it. Then, locate the spindle nut on the grinder. This is the nut that holds the cutting wheel in place.
Most grinders have a spindle nut that you can loosen using a wrench. Some grinders come with a special wrench that fits the spindle nut perfectly, so check your grinder's tool kit. If you don't have the right wrench, you can usually find a suitable one at your local hardware store.
Turn the wrench counter - clockwise to loosen the spindle nut. It might be a bit tight, especially if the grinder has been used a lot. You can use a bit of force, but be careful not to overdo it and damage the nut or the grinder. Once the spindle nut is loose enough, you can remove it by hand.
Now, take a look at the old cutting wheel. If it's worn out or damaged, it's definitely time to replace it. To remove the old wheel, simply pull it off the spindle. Sometimes, the wheel might be stuck a bit. In that case, you can gently tap it with a rubber mallet to loosen it. Just be careful not to hit it too hard and damage the spindle.
Before you install the new cutting wheel, inspect it for any cracks or damage. A damaged cutting wheel can be extremely dangerous, so if you notice any issues, don't use it. Instead, contact us as your cutting wheel supplier, and we'll help you get a replacement.
Place the new cutting wheel onto the spindle. Make sure it's centered properly. You can tell if it's centered if it sits evenly on the spindle and doesn't wobble. Once the wheel is in place, put the spindle nut back on. Turn it clockwise by hand until it's snug. Then, use the wrench to tighten it further. But don't go overboard with the tightening. You want it to be tight enough to hold the wheel securely, but not so tight that you damage the wheel or the grinder.
After you've installed the cutting wheel, give it a quick spin by hand to make sure it rotates smoothly. If it wobbles or makes any strange noises, stop immediately and check the installation. It could be that the wheel isn't centered properly or the spindle nut isn't tightened correctly.
Once you're satisfied that the cutting wheel is installed correctly, it's time to test it out. Plug in your grinder and turn it on. Let it run for a few seconds at a low speed to make sure everything is working as it should. If you notice any vibrations or abnormal sounds, turn off the grinder right away and double - check the installation.
Now, you're ready to start cutting. But remember, always follow the proper cutting techniques. Keep the grinder at the right angle, and don't apply too much pressure. Let the cutting wheel do the work. And always be aware of your surroundings and the materials you're cutting.
If you have any questions about choosing the right cutting wheel or installing it on your grinder, don't hesitate to reach out to us. As a cutting wheel supplier, we're here to help you get the most out of your tools. Whether you're a professional tradesperson or a weekend warrior, having the right cutting wheel and knowing how to install it properly can make all the difference in your projects.
So, if you're in the market for high - quality cutting wheels, we've got you covered. Our cutting wheels are made from top - notch materials and are designed to last. And if you're looking to place an order or have any questions about our products, just get in touch with us. We're always happy to have a chat and help you find the perfect cutting wheel for your needs.
In conclusion, installing a cutting wheel on a grinder isn't as complicated as it might seem. With the right tools, a bit of knowledge, and some safety precautions, you can do it like a pro. And if you ever need more cutting wheels or have any issues with your current ones, we're here as your reliable cutting wheel supplier.
References

- General knowledge from years of experience as a cutting wheel supplier.
- Manufacturer's manuals for various grinders.